Showing posts with label Creative Basics. Show all posts

Saturday, June 24, 2017

Need Coffee??

Hello there!!

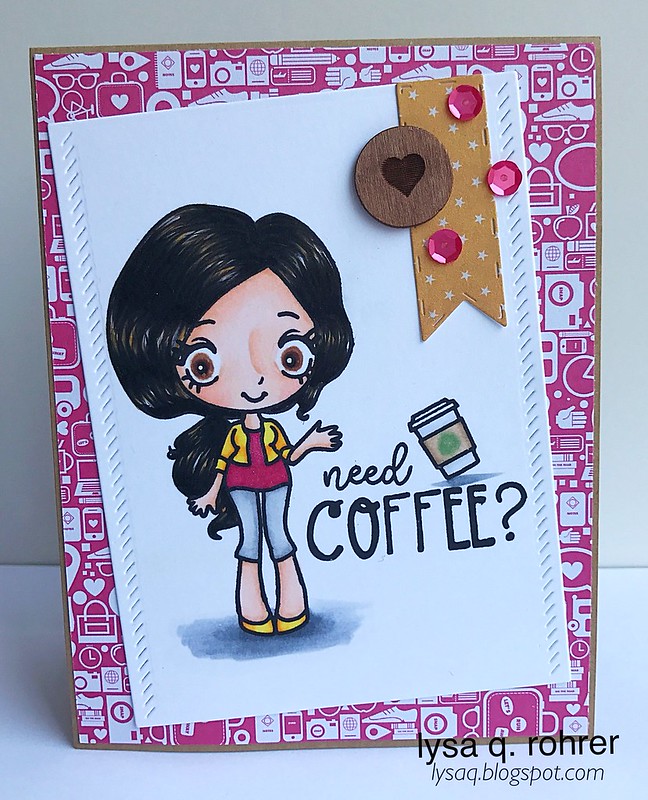
Long time no post! I'm steadily starting to get my card makin' mojo back.. it got a little kick start today with the start of the latest Coffee Lovers blog hop!


I couldn't resist the cuteness of this new coffee girl from The Greeting Farm- I knew she would be perfect for this hop!

Need Coffee?

Feels good to make a card again!

 I've gotten so hooked (literally!) on crocheting amigurumi critters that it's taken over! It's a post all on its own- but if you're interested, I post more regularly on Instagram @LysaQR!

Thanks for stopping by & happy hopping!

Friday, May 26, 2017

Thanks for all you do!

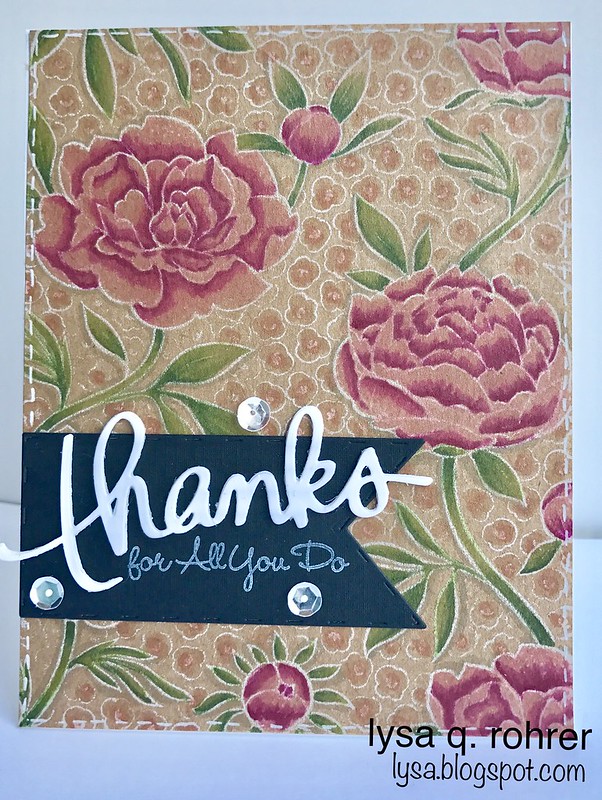
As promised I'm back to share the second card I made for my niece's teacher for the end of the year!

My niece is moving up to middle school next year (I can't believe it!)- I made her teacher a simple yet pretty card using this Hero Arts Large Flower background (cling) stamp!

Thanks teacher
I stamped the flower image in white ink of kraft card stock and colored with Copic markers- I love the muted tones the kraft paper soesntoncopics, even when using the bright colors! I diecut  a banner flag and added the thanks diecut (Mama Elephant) to keep the card simple, I didn't want too much to take away from the stamped image.  I finished the card with faux stitching and a couple of clear sequins!

I've finally gotten the chance to clean off my craft desk so here's hoping for more cards in the near future!!

Thanks for stopping by!

Sunday, April 16, 2017

Blooming Great Day!

Happy Easter!!

I'm on the LDRS Creative blog today sharing my card using these adorable Garden Bunny stamp & die set along with the new circle dies from Creative Basics!

Blooming great day

After coloring my image with copics, I die cut the image and coordinating patterned papers from the Soft Blush & Eleganza paper packs using the circle dies. I adhered them to my card base that I had embossed using the Picnic Quilt embossing folder. Finished off my card with washi tape, some wood veneer embellishments, sequins & twine!

Hope you had a BLOOMING great day!

Thursday, March 30, 2017

Time for Coffee!

Hello!

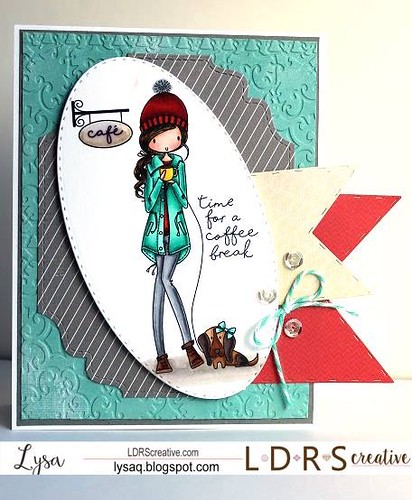
I'm on the LDRS Creative blog today sharing a card I made using the newest release from CHA!

...and it falls along with the Spring Coffee Lovers blog hop!!


Here is Time for a Coffee Break...

Time for coffee


I colored with Copic Markers and layered my image with Creative Basics dies:

- Basic Pierced Ovals

- Basic Stitched Flags

- Fancy Rectangles & Layers

I also embossed the patterned paper on my card base using a Majestic embossing folder, and as usual embellished my card with coordinating twine & sequins!

Hope you take the time to enjoy a coffee break!

Wednesday, March 15, 2017

Sweet Birthday Wishes

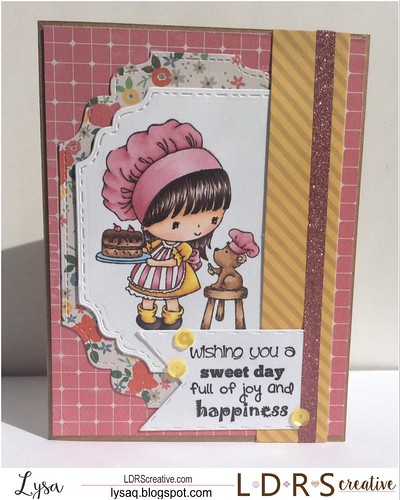
I'm on the LDRS Creative blog today sharing a sweet birthday card featuring Sweet Like Cake & Creative Basics dies...

Sweet Day

Colored with Copic Markers, I paired it with coordinating patterned papers and the following Creative Basics dies: Fancy Squares & Little Things, Fancy Rectangles & Layers, & Basic Stitched Flags

I layered all the dies together added the yellow patterned border and finished it off with a sentiment from the Friendly Greetings sentiment set.

Copics:
skin: E000, E00, E21, R20
hair: E74, E77, E79
hat/apron: R81, R83, R85
dress/socks: Y06, Y15, Y38, YR23
shoes: T5, T7, T9
cake: E21, E23, E25, E27, E29
stool: E53, E55, E57
bear: E31, E33, E35, E37


Thanks for stopping by! 

Thursday, March 2, 2017

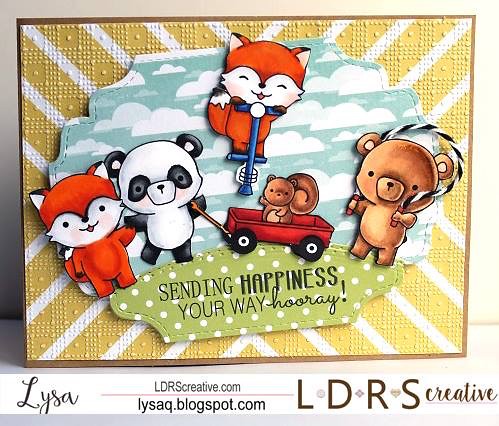
Sending Happiness!

Somehow this card never made it on my blog when I shared it on the LDRS Creative blog back in January (pesky blogger)!!

I used one of the *NEW* stamps sets, Outdoor Play by Becky Pearce, from CHA, that are avaialable now for preorder here...

Sending Happiness

I love me some cute critters, and this set is just filled with them! I mean how could you resist cuddly bears & FOXES!? I couldn't help but to color of bear as a sweet panda, don't they look like the cutest bunch of friends headed to the park to play!

I colored and fussy cut out each one to create my playful scene. I diecut some coordinating patterned papers using the Fancy Rectangles & Little Things and a Basic Pierced Ovals for ground and layered them together on the a patterned sunburst paper that is also embossed with the Picnic Quilt embossing folder. I finished off the card by stamping the sentiment (also in the Outdoor Play stamp set) on the 'grass!'

Thanks for stopping by!

Tuesday, February 28, 2017

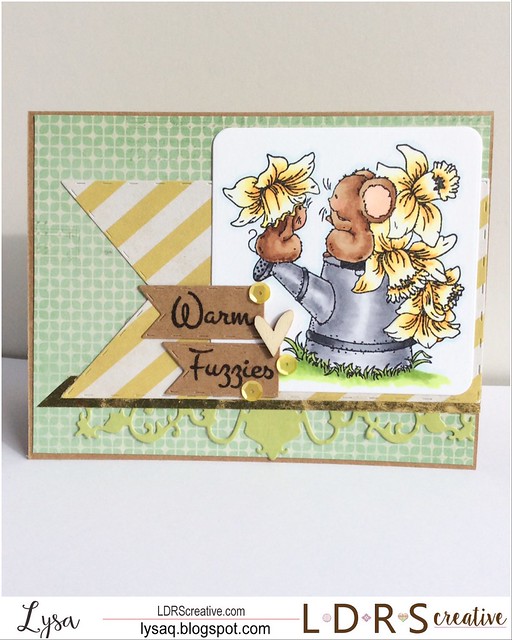
Daffodil Mice

I'm on the LDRS Creative blog today sharing my latest card...

It's starting to feel more like Spring Here in Arizona, (well except for the bit of rain we're getting today!) and we're getting our garden beds ready to plant, I thought the Daffodil Mice were a cute fit!

Warm Fuzzies

I diecut the image using the square die and part of the flourished frame from the Majestic Frame die set, and added Basic Stitched Flags for the background and the sentiment as well!

Copics
mice: E00, E31, E33, E35, E37, R20
daffodils: Y02, Y11, Y13, Y15, Y17, Y21
watering can: C1, C3, C5
grass: YG03, YG25, G24

Have a fabulous day!

Wednesday, February 15, 2017

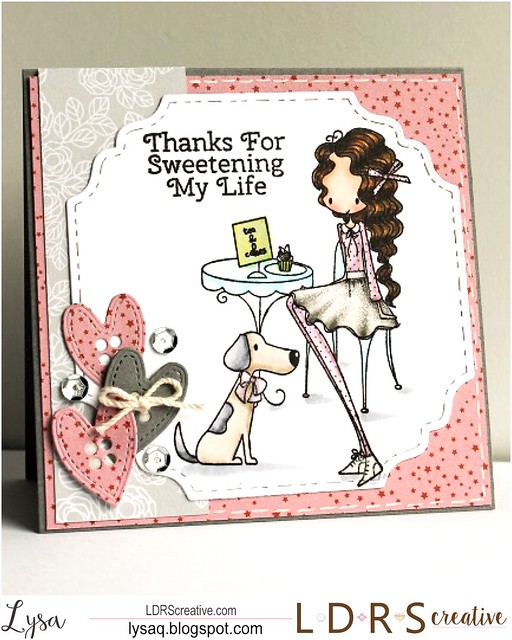
Sweet Life

I'm on the LDRS Creative blog today sharing my latest card featuring the All Dressed Up stamp line, Love the Weekend...

Sweet Life

After coloring my image I die cut it using the Fancy Squares & Little Things die set, I squared off the bottom, making it a 4 1/4" card. I used some coordinating patterned papers and also die cut the "buttons" from the same die set. The sentiment is from Friendly Greetings. I finished it off with some sparkle of sequins and Spectrum Noir sparkle on her skirt.

Thanks to a comment on Facebook, I'm also joining in on the All Dressed Up- Anything Goes Challenge! 

Copics
skin: E000, E00, E21, R20
hair: E44, E47, E49, YR23
clothes: RV91, RV93, RV95, W1, W3, W5
dog: C1, C3, E40, E41, E43
table: BG0000, YG21, YG25

Thanks for stopping by!!

Sunday, January 22, 2017

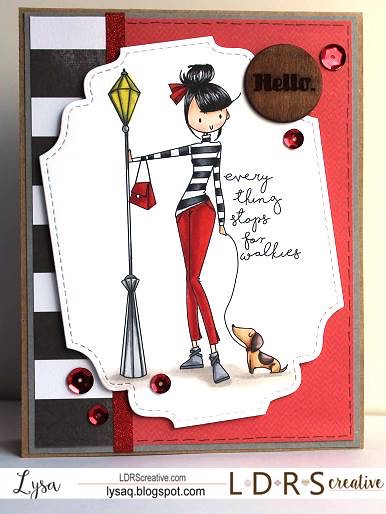
Everything Stops for Walkies!

Hello!

I would have posted this sooner, but having some computer issues at the moment and attempting to blog from my phone...

This weekend kicked off the CHA2017 trade show, here in my hometown of Phoenix, AZ- I so wish I was there! Anyway, I'm popping in today to share one of the cards I made with one of the new releases from LDRS Creative... Everything Stops for Walkies!

It is absolutely the cutest and I had so much fun making this card.

Walkies

Sorry to cut out the details, hope to update as soon my computer is back up and running!

Thanks for stopping by!!

Friday, December 30, 2016

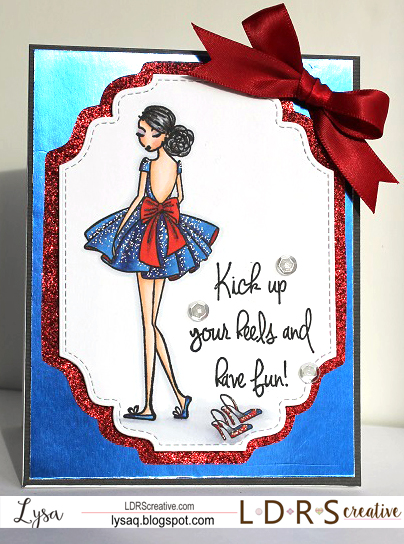
Kick Up Your Heels!

Happy *almost* New Year!!

Can you believe how quickly 2016 has flown by?

BUT before we ring in 2017... I'm sharing a card I made for the LDRS Creative blog today!

I decided this All Dressed Up: Love that Dress stamp, and sentiment from Uptown Sayings was a perfect match for a New Years card!

Kick Up Your Heels...

I colored with copics and die cut using the Fancy Rectangles & Layers die, adhered it to the red glitter paper and fussy cut out along the die cut since I had used the largest rectangle. Added sparkle to the dress and shoes with a glitter and white gel pen, finished off my card by adhering it to my card base with a coordinating blue foil card stock, and red bow!

Copics:
skin: E000, E00, E21, R20, BV00
hair: C3, 100
dress/shoes: B24, B26, B29, R17, R37, R46

Wishing you all a FABULOUS 2017... until next year!

Thursday, December 29, 2016

Penguin cuties

Hello Friends!

I'm over on the Passionate Paper Creations blog today sharing two cards I made with PPCF Facebook sponsor images by Conie Fong Art!

I'm a sucker for cute critters and in the winter that means sweet adorable penguins... I totally fell in LOVE with these two!

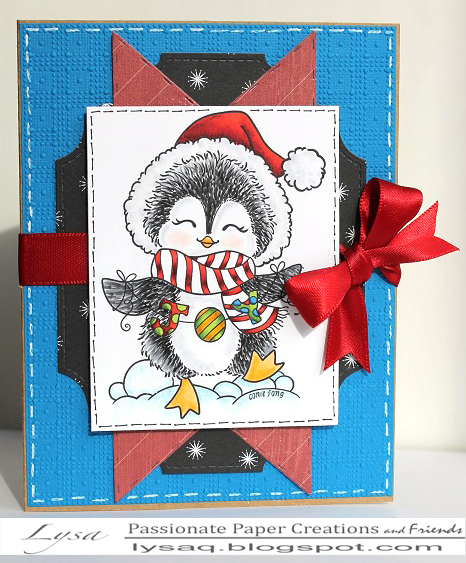
On this card, I used Joy to the World...

Joy Penguin

I colored the penguin with Copic markers and trimmed out the image (I accidentally printed him too close to some other images to use a diecut- oops!). I die cut layers of patterned papers using Creative Basics dies- Fancy Rectangles & Layers and Basic Stitched Flags. I also used the Picnic Quilt embossing folder for some texture on the blue cardstock layer.  Finally tied everything together with a red ribbon before attaching it to my card base.

Copics:
penguin: N3, N5, N7, N9, R01, Y32, Y35
hat/scarf: R17, R37, R46, C0, C1
joy: R14, R17, G02, G05, G07, B24, B26, Y17
snow: B0000, B41

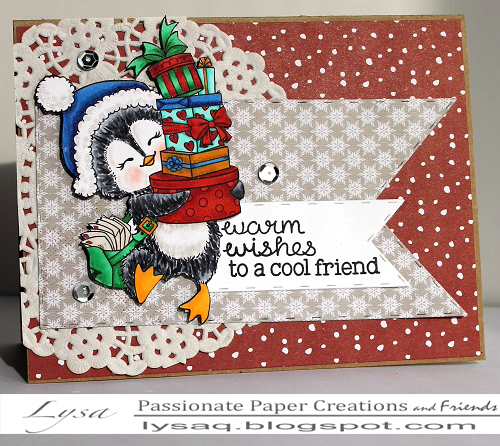
For my second card I used another sweet penguin, Snowy Delivering Presents...

Snowy Delivery

I also colored him in copics, but decided to use a different gray color family than on my first penguin. I kept this card pretty simple since there was so much going on with the stack of presents. The sentiment is pieced together from a couple of Lawn Fawn sets, Baaah Humbug and Toboggan Together. I used the Basic Stitched Flags again and finished it off with the doily behind the flags.

Copics:
penguin: C3, C5, C7, C9, R01, Y32, Y35
hat: B24, B26, B29, C1, C3
mail/bag: E40, E41, G02, G05, G07
presents: B24, B26, BG11, BG13, BG15, G02, G05, G07,
R17, R37, R46, Y17, Y26, Y28

Thanks for stopping by! I'll be back tomorrow with one last card before 2017!

Friday, December 9, 2016

Christmas Tree Cutie

Happy Friday!!

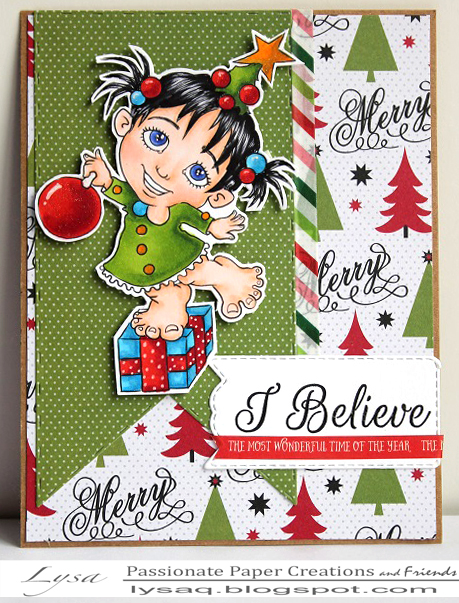
Poppin' in quick today to share this Christmas Tree Cutie from Passionate Paper Creations & Friends FB group sponsor, Bloobel Digital Stamps!

I Believe

I finally had the itch to do some coloring last night, and was able to throw her up on a card with some coordinating patterned papers and die cuts from Creative Basics!

Copics
skin: E000, E00, E21, R20

eyes: B63, B66, B69
hair: 100, C3
dress: YG03, YG17, YG25, YG67
blue bulbs/gift: B12, B14, B16
red bulbs/ribbon: R17, R37, R46

Thanks for stopping by... Happy Weekend!

Wednesday, December 7, 2016

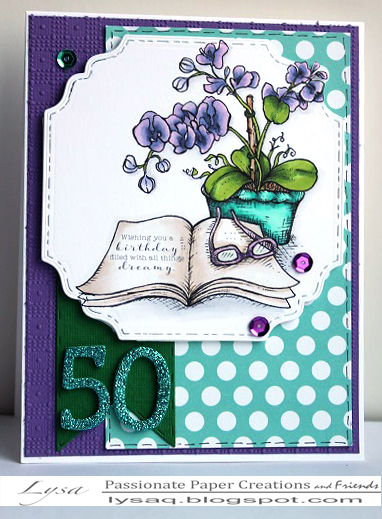
Happy 50th Rhea!

Yesterday was Rhea's (of Passionate Paper Creations, & the owner of the PPCF Facebook group) *50th* birthday!  There's a ton of games and giveaways happening in the facebook group too...

I created this card for her using a digital image created just for her by Power Poppy, Orchid Dreams.

Birthday Orchids

I colored using Copics in her fave colors- purple & teal.  I die cut the image using the Fancy Squares and Little Things die set and trimmed out the corner flower to hang out. Embossed the purple layer using the Picnic Quilt embossing folder, and added a Basic Stitched Flag as a base for the teal foam thicker number stickers.

Copics: 
orchids: BV01, BV11, BV13, BV17, V01, 
leaves: YG03, YG17, YG67, 
pot: BG13, BG15, BG18, E31, E34
book: E40, E41
glasses: V12, V15, V17

Hope you had a FABULOUS day Rhea!

Wednesday, November 30, 2016

North Pole Woods

Hello!

Hope all of you in the US had a wonderful holiday weekend, and everyone else- a fabulous regular weekend! LOL!

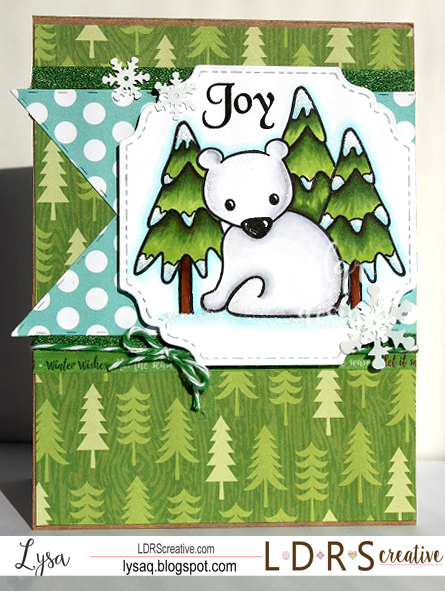
I'm sharing a card today over on the LDRS Creative blog that I made combining two of the newest clear stamp sets- North Pole & North Woods!

North Pole Woods

I stamped and masked the polar bear from the North Pole stamp set and then added the trees to the background. Colored in copics, I gave the trees a dusting of snow- it is the North Pole, right? I die cut the scene using a die from the Fancy Squares & Little Things die set, and finished of the image with a bit of sparkle using a Spectrum Noir sparkle pen. I found some coordinating pine tree patterned paper in my stash, along with the polka dots (I thought looked like snowballs!) using the Basic Stitched flag die also from Creative Basics, pulled everything together with a sprinkling of snowflake sequins and baker's twine and added the sentiment using a stamp from the *HSN exclusive* CandiBean Christmas stamp bundle... there's still some available AND they're on sale!!

Copics: 
polar bear: C00, C0, C1, C3
trees: E35, E37, YG03, YG17, YG67, YG97

Thanks for stopping by hope you have a fabulous day!!

Saturday, November 19, 2016

Spreading Joy!

Hello! Happy Saturday!

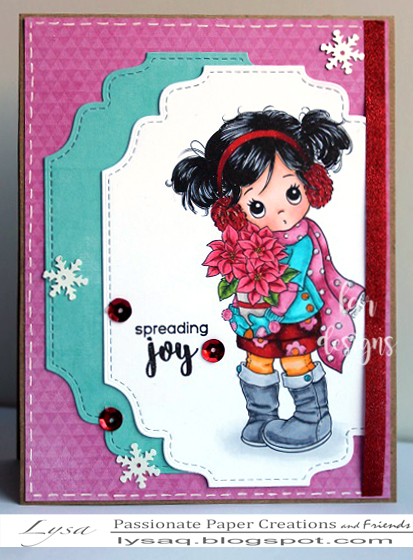
I'm on the Passionate Paper Creations blog today sharing this adorable image from one of our sponsors, Conie Fong Art!  I am totally in love with all of her images and can't wait to get my hands on more!

For my card today, I colored up this sweet image, Holly Poinsettia...

Sending Joy

If you follow me on Instagram, you may have seen her a few days ago for the 30 Day Coloring Challenge hosted by Kathy Racoosin.  I just love these coloring challenges since it builds up my collection of colored images & makes the card making process go much quicker!

I die cut the image and the aqua mat, using Fancy Rectangles & Layers by Creative Basics. Stamped the sentiment (The Greeting Farm) and adhered all my mats and layers on to my card base with some coordinating patterned paper, and finished it off with some sparkle using glitter washi tape and sequins!

Copics:
hair: 100, C3
skin: E000, E00, E21, R01
clothing: BG02, BG05, BG07, R17, R37, R89, R81, R83, R85, Y32, Y35, Y38;
boots: C1, C3, C5;
poinsettia/pot: R17, R32, R43, R35, W1, W3

Thanks for stopping by! I hope to see you over in the Passionate Paper Creations Facebook Group!

Tuesday, November 15, 2016

Thermal Weather

Thermal Weather... but obviously not here, we're still pushing the *almost* 90 degree mark! (but still beautiful weather..I'll take it!)

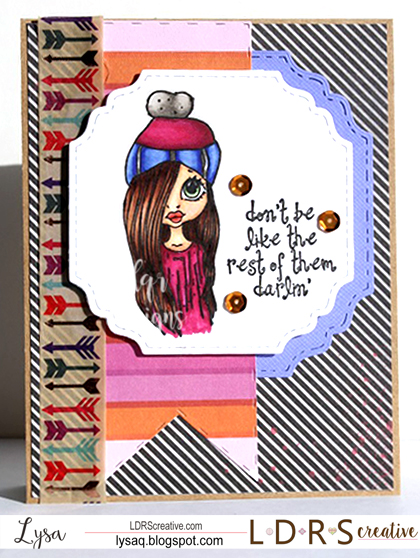
I'm on the LDRS Creative blog today sharing a card I made using the new, Saturated Canary stamp- Thermal Weather!

Darlin'

I colored her with copics in some rich jewel tones and die cut it using the Fancy Squares and Little Things dies, including the purple mat. I used some coordinating patterned papers and washi tape in addition to a Basic Stitched flag- that is actually two flags adhered together behind the image to make it fit the length of my card. I finished my card by adding the sentiment from the Amazing Girls stamp set.

Copics:
skin: E000, E00, E21, R01;
eyes: G20, G21, G24;
hair: E23, E25, E27, E29;
clothing: RV17, RV19, RV66, RV69, B63, B66, B69, W1, W3, W5

Thanks for stopping by!!

Friday, November 4, 2016

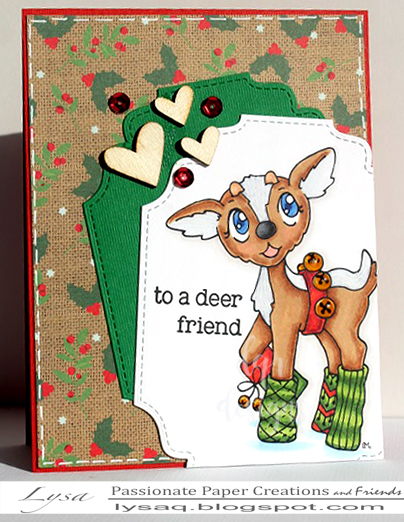
"Deer" friend

Woohoo! Happy Friday!

Starting off this first weekend of November with Passionate Paper Creations & Friends Facebook group's last sponsored weekend of the year with Little Miss Muffet Stamps!

There are some ADORABLE new reindeer digis in the shop and they are the cutest- I want them all!

I colored up Reindeer Greetings first...

Deer Friend

After coloring with copics, I die cut the reindeer using a Fancy Rectangles and Layers die by Creative Basics, in addition to another of the same size in green card stock.  I love keeping my cards simple so I just layered them onto a piece of patterned paper and added some wood veneer and sequin embellishments.

Copics: 
reindeer: B24, B26, C0, C1, E31, E33, E35, E37,
red: R17, R37, R89
greens: YG03, YG17, YG67
shadow: B41, 0

Thanks for stopping by! Have a wonderful weekend!

Monday, October 31, 2016

Happy Halloween!!

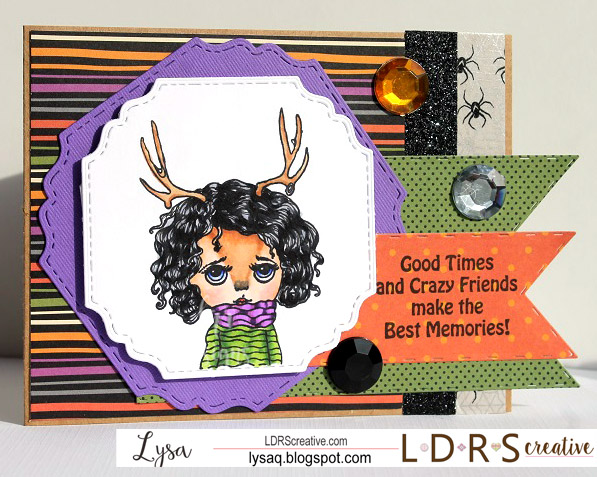
I'm on the LDRS Creative blog today sharing my LAST Halloween card... this year! Ha!

It's funny because I didn't get into Halloween cards until recently, and now with all the images getting cuter and cuter every year- it's hard to resist!

I decided to play with one of the new Dollhouse images, Oh Deer and transform her into a Halloween-themed image! When looking for ideas for my own costume this year- I kept seeing a trend photos of deer face paint/make up ideas, and photos from all the new "selfie" photo apps that are out now and found my inspiration!

Oh Deer

I colored her with copics and added the bit of brown down the front of her forehead and nose to look like a deer as much as I could! I die cut the stamped image using the Fancy Squares & Little Things die, and also a larger mat from the same die set in purple card stock. Using some coordinating Halloween-themed patterned papers I matted the die cuts to my card base and added a few Basic Stitched Flag dies, the black glitter and spider print strips are washi tape, stamped my sentiment from the Friendly Greetings set, and finished it off with some large gems- what's Halloween without some sparkle, right?

Copics:
skin: E000, E00, E21, E31, E33, R20
hair: 100, C3
antlers: E31, E33
top/scarf: V04, V06, V09, YG03, YG17, YG67

Thanks for stopping by- have a fabulous and SAFE Halloween!

Sunday, October 30, 2016

Boo!

I'm on the Passionate Paper Creations blog today sharing *another* Halloween card!

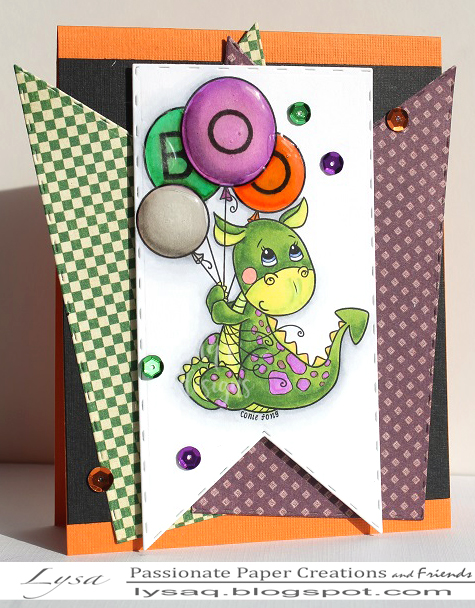
I just about fell out of my chair when I saw this cute dragon by Conie Fong Art! If you didn't know I'm a total sucker for dragons, and Conie's line of dragons are super cute (as are the rest of her digital images!)

Boo Dragon

I colored Tori using copics, stamped the letters "BOO" in the balloons, and die cut the image using the Basic Stitched Flags die. I also cut out 2 more flags using the same size die in some coordinating patterns adhered it to my orange card base (with a square black card stock already layered on it). I added the die cut with the image on top using foam tape, topped the balloons with glossy accents and sprinkled a few coordinating sequins to finish it off!

Copics:
dragon: Y02, YG01, YG03, YG17, YG67, R20, V04
balloons: W1, W3, W5, G02, G05, G07, V04, V06, V09; YR02, YR04, YR07.


Thanks for stopping by... I have ONE more Halloween card coming tomorrow!

Friday, October 21, 2016

Trick or Treat!

Happy Friday!

It seems like the number of Halloween cards I make each year increases! So many cute images & not enough time to play with them all!

Today, I'm sharing a card I made with this sweet skeleton from The Greeting Farm! And I'm in time for the Farm Fresh SPOOKY challenge! (I missed entering last month's challenge by a few hours! LOL)
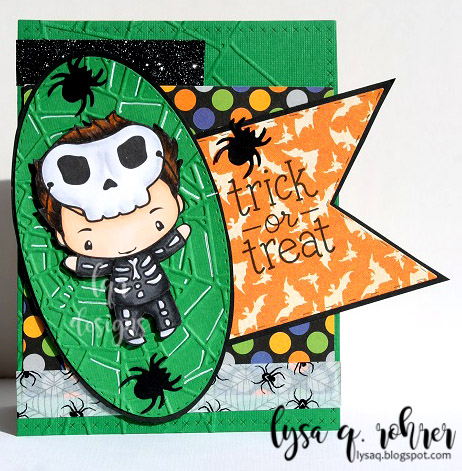
Trick or Treat

Halloween time is getting so much more fun around here now that my kids are getting older and more into dressing up (well, at lease one of them!)

I colored Skeleton Ian with copics, and fussy cut him out,  die cut card stock and patterned paper using the Basic Pierced Ovals and Basic Stitched Flags by Creative Basics, added some coordinating patterned papers and washi tape, embossed the oval die and card base using a spiderweb embossing folder by Sizzix/Tim Holtz, and adhered Skeleton Ian with foam tape.

Copics
skin: E000, E00, E21
hair: E44, E47, E49, YR24
costume: C1, C3, N3, N5, N7

AND The Greeting Farm is sponsoring the weekend fun over at the Passionate Paper Creations & Friends Facebook group- come join the fun and your chance to win a $25 gift certificate!

Thanks for stopping by!