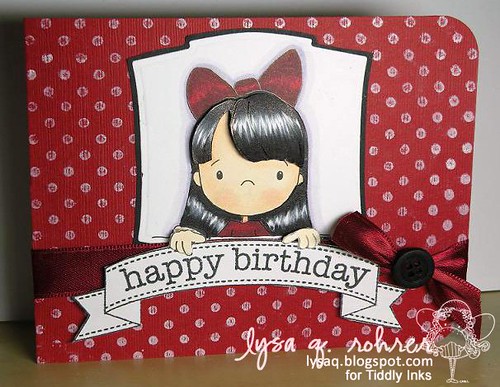
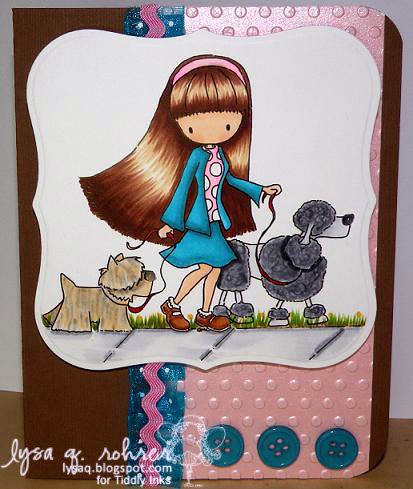
I put together a tutorial this week for Tiddly Inks on two techniques I use to create shaped cards...
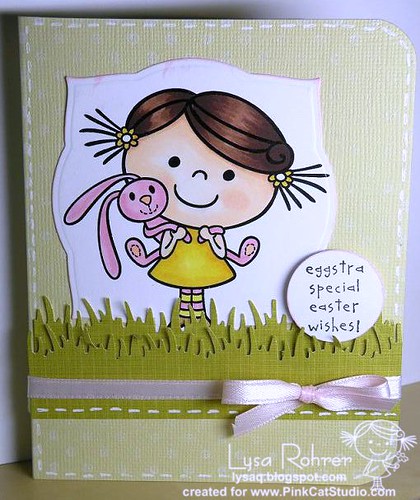
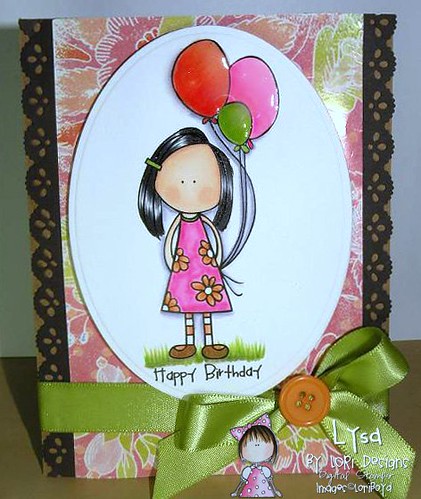
Style 1: Creating a hinged card
1) Taking a folded card (any size) and using a die cut, slightly overlap the edge of the creased fold...

2) Run it through the die cut machine & voila! You have a shaped card :)

3) Finally.. decorate & embellish your card and you're done :)
 Supplies:
- Annie w/present (Tiddly Inks); All Occasion messages (Hero Arts)
- Circle nestabilities
- Scallop border punch (Stampin' Up!)
- Ink: printer, Frost white colorbox, Uniball signo white gel pen
- Copics: {hair} Y21, Y23, Y26; {skin} E000. E00, R01; {clothes} BV13, BV17, RV02, RV04, RV06
- Other: ribbon,
Supplies:
- Annie w/present (Tiddly Inks); All Occasion messages (Hero Arts)
- Circle nestabilities
- Scallop border punch (Stampin' Up!)
- Ink: printer, Frost white colorbox, Uniball signo white gel pen
- Copics: {hair} Y21, Y23, Y26; {skin} E000. E00, R01; {clothes} BV13, BV17, RV02, RV04, RV06
- Other: ribbon,
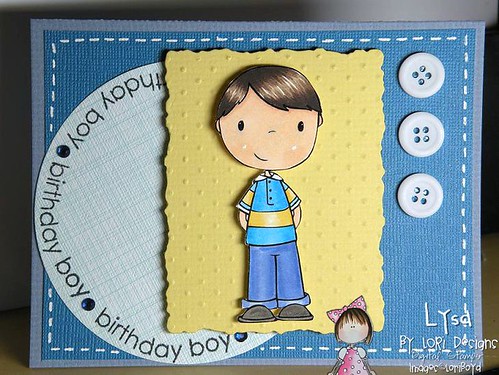
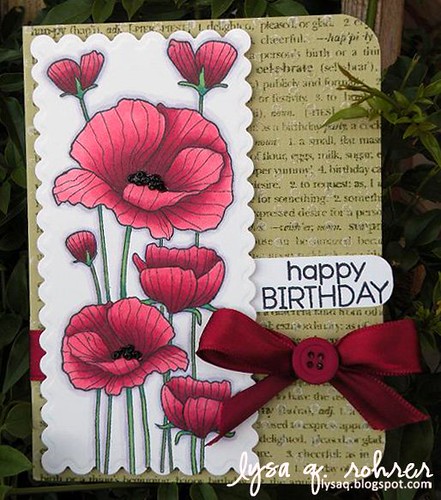
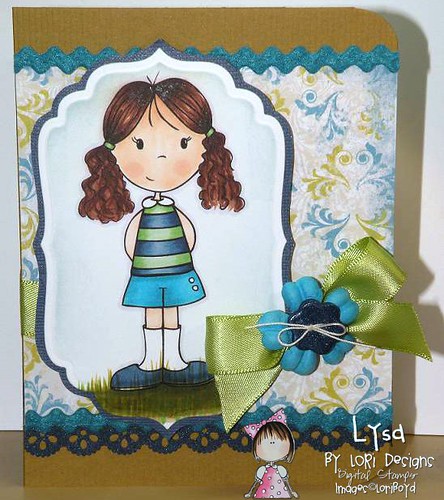
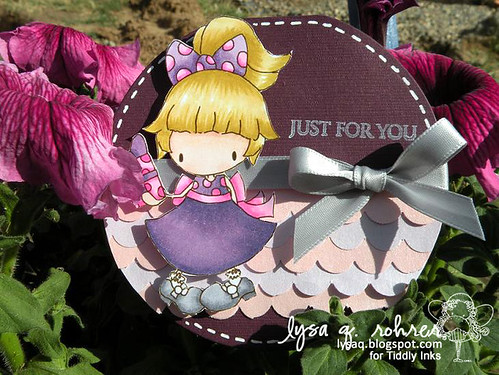
For those of you that don't want that flat edge where the card folds, here is another technique I use...
1) Die-cut 2 shapes of your choice

2) Take one of those shapes and using a scoring tool, score a line about 1/2" on one side

3) Fold on the score line and add adhesive to that 1/2" space

4) Place the other die cut and press firmly to adhere the two together, and now you have another shaped card!

5) Again, decorate & embellish...
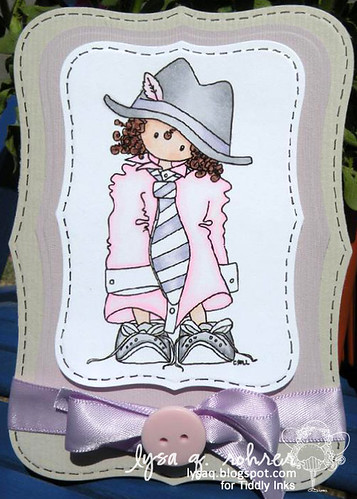 Supplies:
- Daddy's Girl (Tiddly Inks)
- Labels 1 nestabilities
- Ink: printer
- Copics: {skin} E000, E00, R01; {hair} E25, E29; {clothes} RV0000, RV00, RV02; BV0000, BV00, N1, N3, N5; multiliner
- Other: ribbon, button
Supplies:
- Daddy's Girl (Tiddly Inks)
- Labels 1 nestabilities
- Ink: printer
- Copics: {skin} E000, E00, R01; {hair} E25, E29; {clothes} RV0000, RV00, RV02; BV0000, BV00, N1, N3, N5; multiliner
- Other: ribbon, button
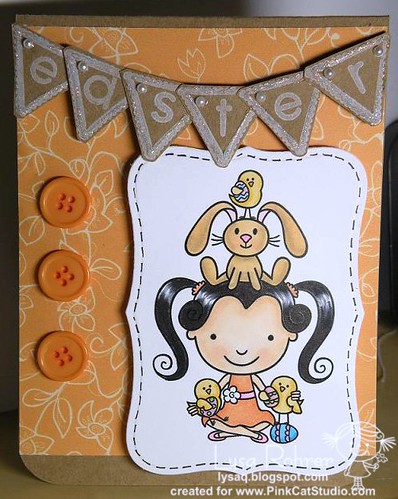
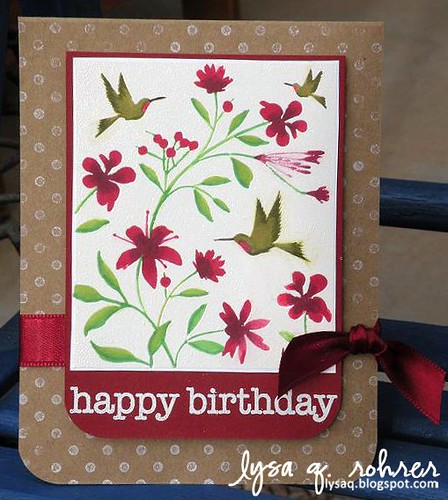
These cards were "inspired by" the fun colors in this photo

Check out the details for the challenge and the for both of these card on the
Tiddly Inks Challenge blog!