Happy JULY!
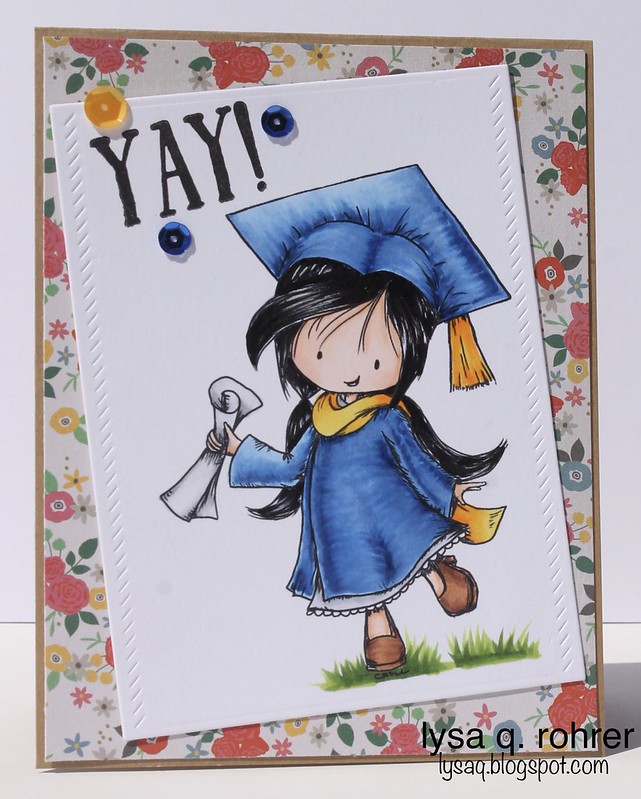
Popping in quick to share this card I made for my oldest niece- she graduated from high school last month!!
I knew this Graduate Wryn image would be perfect...
I colored her using copic markers to match her school colors and kept the card pretty simple by die cutting the image using a Mama Elephant die, and mounting it on floral patterned paper because her school's graduation was held in a 'rose garden!' The sentiment is from a Waffle Flower stamp set. Finished it off with a few sequins and called it done!
Thanks for stopping by!
Monday, July 3, 2017
Saturday, June 24, 2017
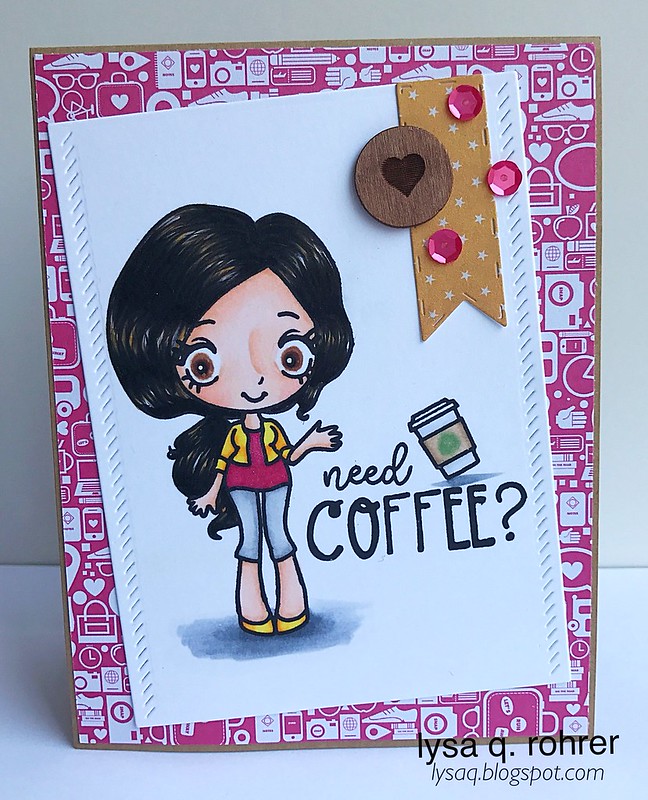
Need Coffee??
Hello there!!
Long time no post! I'm steadily starting to get my card makin' mojo back.. it got a little kick start today with the start of the latest Coffee Lovers blog hop!
I couldn't resist the cuteness of this new coffee girl from The Greeting Farm- I knew she would be perfect for this hop!
Feels good to make a card again!
I've gotten so hooked (literally!) on crocheting amigurumi critters that it's taken over! It's a post all on its own- but if you're interested, I post more regularly on Instagram @LysaQR!
Thanks for stopping by & happy hopping!
Friday, May 26, 2017
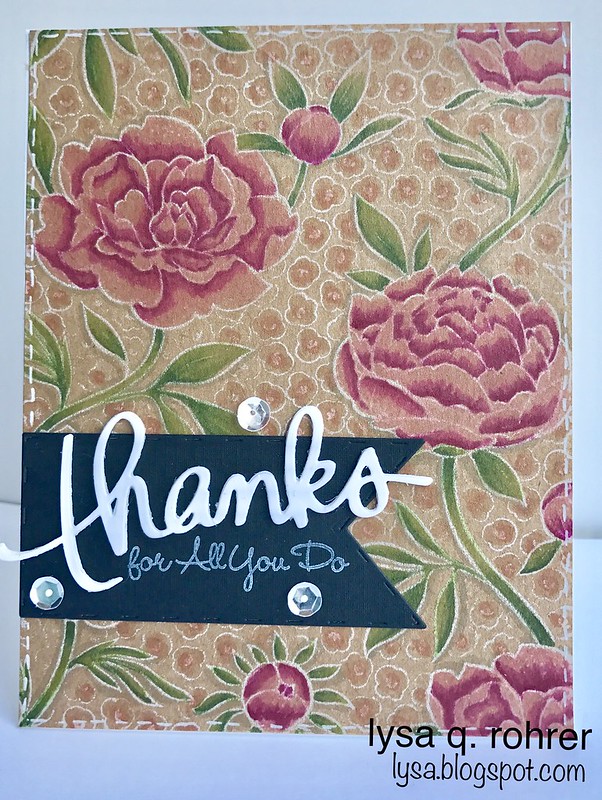
Thanks for all you do!
As promised I'm back to share the second card I made for my niece's teacher for the end of the year!
My niece is moving up to middle school next year (I can't believe it!)- I made her teacher a simple yet pretty card using this Hero Arts Large Flower background (cling) stamp!
I stamped the flower image in white ink of kraft card stock and colored with Copic markers- I love the muted tones the kraft paper soesntoncopics, even when using the bright colors! I diecut a banner flag and added the thanks diecut (Mama Elephant) to keep the card simple, I didn't want too much to take away from the stamped image. I finished the card with faux stitching and a couple of clear sequins!
I've finally gotten the chance to clean off my craft desk so here's hoping for more cards in the near future!!
Thanks for stopping by!
Tuesday, May 23, 2017
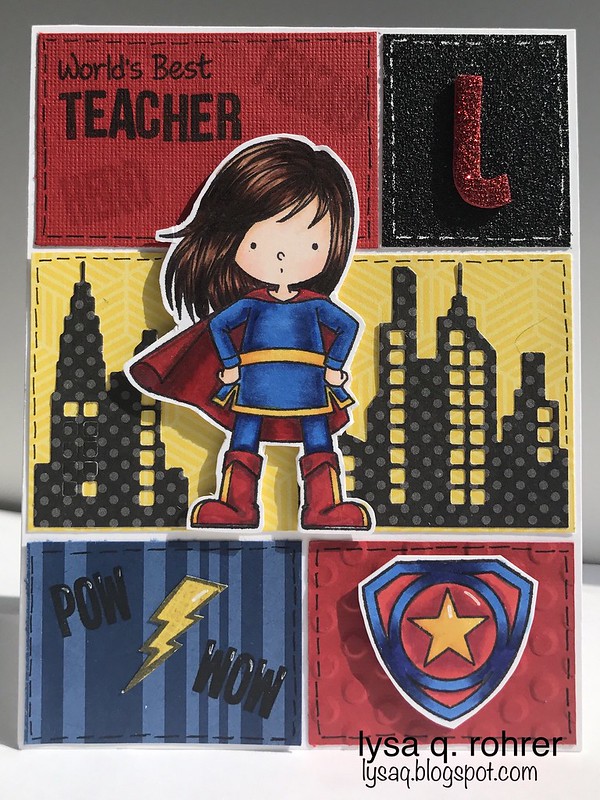
Super teacher
Hello!
Long time no post!! This week is the last week of school for 2 of my nieces, and my sister asked me to make some cards for their teachers.
For my younger *almost 3rd grader* niece, their class has had a superhero theme so I knew I wanted to use the You're Super stamp set from My Favorite Things!
I created the layout to look like a page out of a comic book using elements from the same stamp set, the buildings were made using a Paper Smooches diecut. Colored the Supergirl using Copics coordinating with the patterned papers, finished it all with some Spectrum Moir sparkle here and there and my card is done!
More on the second teacher card I made in the next post!
Wednesday, May 3, 2017
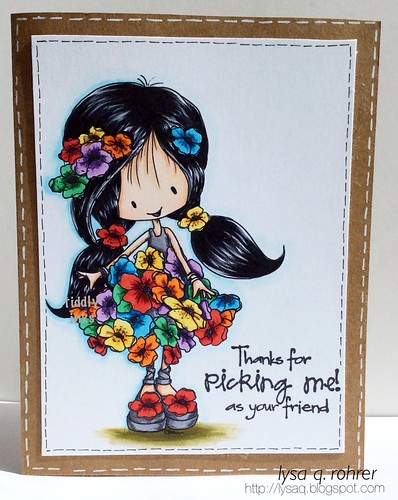
Thanks for Picking Me!
Happy May!
A new month means a new challenge at Tiddly Inks! And this month we're BLOOMING with flowers!
I 'picked' this sweet Poppy Wryn and gave her a rainbow colored poppy dress!
I'm still in a bit of a card making funk... I recently started getting into crocheting cute amigurumi critters and totally got hooked! (more on that in a different post!) - but hoping to get back into it soon- coloring this rainbow of flowers definitely helped & I have a few un-inked stamps calling my name!
Be sure to head over to the Tiddly Inks Challenge Blog for all the details on the BLOOMING BEAUTIFUL challenge!
Sunday, April 16, 2017
Blooming Great Day!
Happy Easter!!
I'm on the LDRS Creative blog today sharing my card using these adorable Garden Bunny stamp & die set along with the new circle dies from Creative Basics!
After coloring my image with copics, I die cut the image and coordinating patterned papers from the Soft Blush & Eleganza paper packs using the circle dies. I adhered them to my card base that I had embossed using the Picnic Quilt embossing folder. Finished off my card with washi tape, some wood veneer embellishments, sequins & twine!
Hope you had a BLOOMING great day!
Thursday, April 6, 2017
Road trippin'
Oops, Almost forgot to post this! (it's been a bit of a hectic week!)
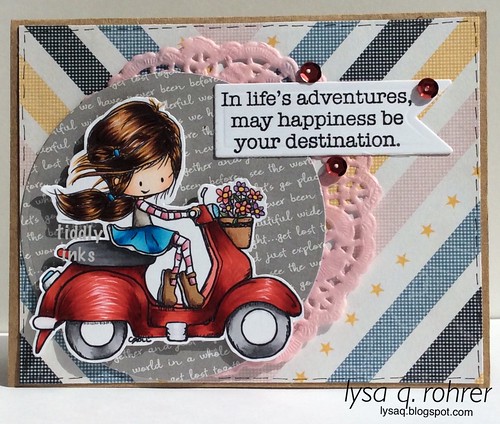
Tiddly Inks is back with a new monthly challenge, ROAD TRIP!
I used this super fun image of Wryn Scooting by for my card, she comes in some different variations too- the other give her a furry sidekick riding along!
Added some cute coordinating patterned papers & a doily to pull it all together. (My sentiment is from Hero Arts.)
Now I want to go on road trip!
Hope to see you join the fun!
Thursday, March 30, 2017
Time for Coffee!
Hello!
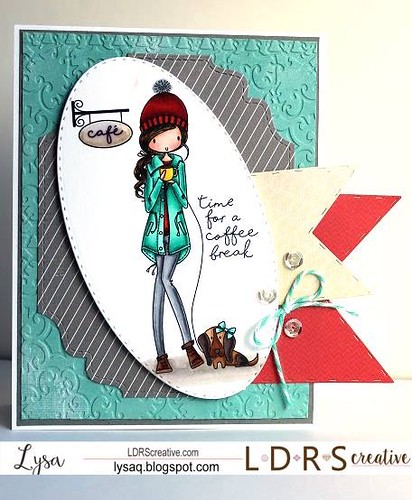
I'm on the LDRS Creative blog today sharing a card I made using the newest release from CHA!
...and it falls along with the Spring Coffee Lovers blog hop!!
Here is Time for a Coffee Break...
I colored with Copic Markers and layered my image with Creative Basics dies:
- Basic Pierced Ovals
- Basic Stitched Flags
- Fancy Rectangles & Layers
I also embossed the patterned paper on my card base using a Majestic embossing folder, and as usual embellished my card with coordinating twine & sequins!
Hope you take the time to enjoy a coffee break!
Tuesday, March 28, 2017
Grab Some Brew?
Coffee brew that is...
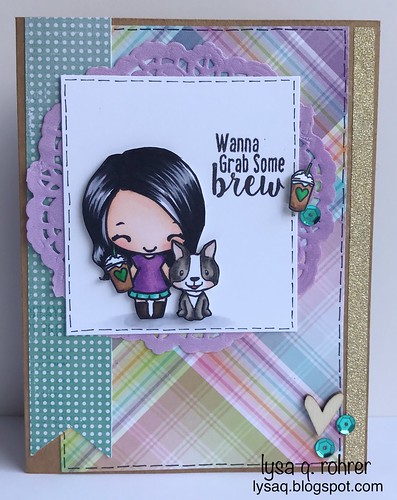
I'm back on the The Greeting Farm for my last post as guest designer! I can't thank the amazing peeps at TGF enough for this fun chance to play and share their fabulous stamps!
For my final card I used the Mini Remix- Brewtiful stamp set! AND just in time for the Spring Coffee Lovers Blog hop too!
I masked the sweet pup from the Mini-Remix Boys before stamping mini Anya to give her a little friend as she sips her frappe-drink! I stamped the sentiment using pieces from the Brewtiful set to create my own message, paired my images with coordinating papers, washi tape, and embellishments to complete my card!
Thanks for stopping by!
Tuesday, March 21, 2017
Hey Dude!
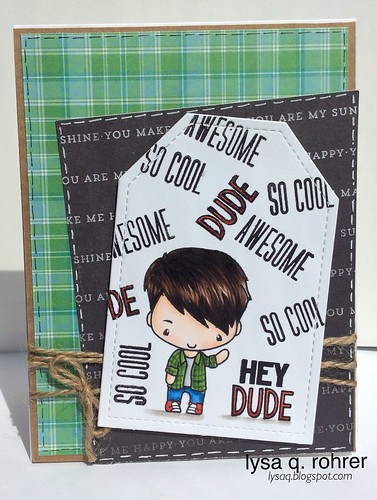
Hey Dude (-ettes!) I'm on the The Greeting Farm for another guest designer post sharin another card- this time one for the boys!
I inked up one of the Ians from the Mini-Remix Boys clear stamp set and colored him using Copic Markers. I had originally planned for my card to be 'clean & simple' but I just couldn't stop- so I decided to use more sentiments included in the set to surround the mini Ian. I put the card together by layering coordinating patterned papers with some jute twine-and now it's good to go for my son's birthday in a few months!
Copics
skin: E000, E00, E21, R01
hair: E44, E47, E49
clothes: C1, C3, YG03, YG17, G24, G28, B32, B34, B37, R24, R27
Thanks for stopping by... Have an AWESOME week!
Wednesday, March 15, 2017
Sweet Birthday Wishes
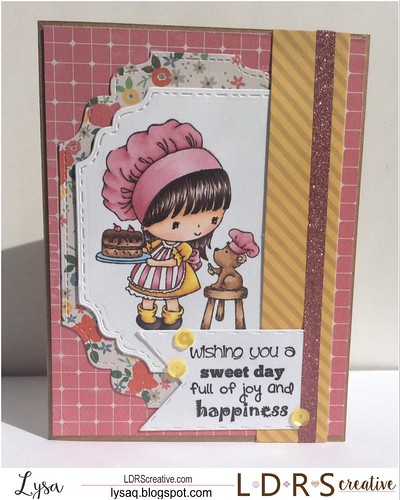
I'm on the LDRS Creative blog today sharing a sweet birthday card featuring Sweet Like Cake & Creative Basics dies...
Colored with Copic Markers, I paired it with coordinating patterned papers and the following Creative Basics dies: Fancy Squares & Little Things, Fancy Rectangles & Layers, & Basic Stitched Flags
I layered all the dies together added the yellow patterned border and finished it off with a sentiment from the Friendly Greetings sentiment set.
Copics:
skin: E000, E00, E21, R20
hair: E74, E77, E79
hat/apron: R81, R83, R85
dress/socks: Y06, Y15, Y38, YR23
shoes: T5, T7, T9
cake: E21, E23, E25, E27, E29
stool: E53, E55, E57
bear: E31, E33, E35, E37
Thanks for stopping by!
Tuesday, March 7, 2017
Hi Anya!
2nd post for me today and I'm SO excited to share...
I'm guest designing with The Greeting Farm this month!
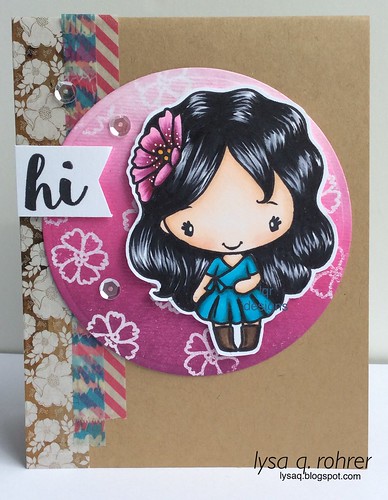
For my first card, I decided to play with one of the newer Anya images to join the Farm, Hi Anya! She's just the sweetest- loved coloring her dress and the cute flower in her hair!
Since the Farm Fresh Challenge for the month of March is 'mixed media' I pulled out a few distress inks to create the background circle- using watercolor card stock I first stamped & clear heat embossed the flower that is included with the Anya set. I then choose some colors to match her flower (spun sugar, picked raspberry and seedless preserves), and blended them for and ombré effect. I added a few strips of washi tape and sequins to complete my card!
Copics:
skin: E000, E00, E21, R20
hair, C3, 100
flower: RV02, RV66, RV69, Y35
dress: BG02, BG05, BG07, BG09
boots: E44, E47, E49
Thanks for stopping by... have a fabulous day!
Need a hug?
Hello & Happy Tuesday!
It's the first Tuesday of the month which means its new challenge day at Tiddly Inks! This month's challenge theme is Animal Magic!
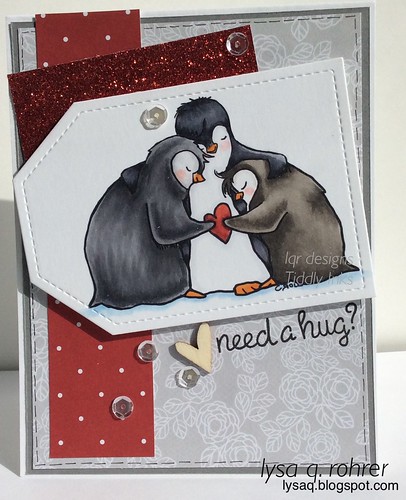
I decided to go with this sweet Penguin image Christy of Tiddly Inks created as a freebie to share a little love with all that is going on in the world today... Be Cool & Love Each Other
I colored the penguins in 3 shades of Copic grays (neutral, cool, & warm) and die cut the image using a Stitched tag die from Pretty Pink Posh. Keeping my card simple to allow the penguins shine, I added a simple sentiment from Lawn Fawn and put it all together using coordinating paper scraps, sequins, & a tiny wood veneer heart!
Hoping to see you play along with us... you have a whole month! Check out the details and more fabulous inspiration from the rest of the design team HERE!
Thursday, March 2, 2017
Sending Happiness!
Somehow this card never made it on my blog when I shared it on the LDRS Creative blog back in January (pesky blogger)!!
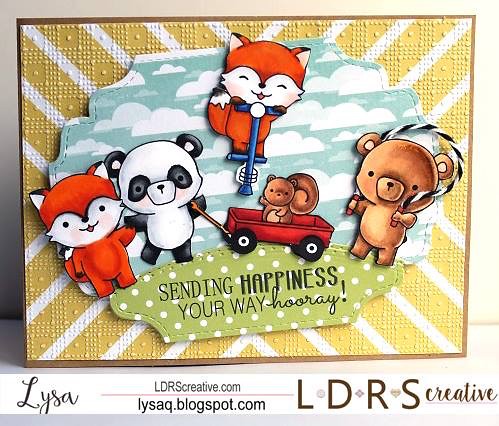
I used one of the *NEW* stamps sets, Outdoor Play by Becky Pearce, from CHA, that are avaialable now for preorder here...
I love me some cute critters, and this set is just filled with them! I mean how could you resist cuddly bears & FOXES!? I couldn't help but to color of bear as a sweet panda, don't they look like the cutest bunch of friends headed to the park to play!
I colored and fussy cut out each one to create my playful scene. I diecut some coordinating patterned papers using the Fancy Rectangles & Little Things and a Basic Pierced Ovals for ground and layered them together on the a patterned sunburst paper that is also embossed with the Picnic Quilt embossing folder. I finished off the card by stamping the sentiment (also in the Outdoor Play stamp set) on the 'grass!'
Thanks for stopping by!
Tuesday, February 28, 2017
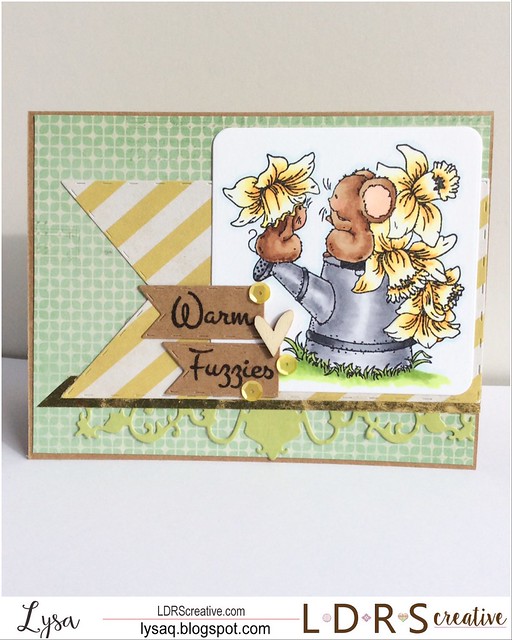
Daffodil Mice
I'm on the LDRS Creative blog today sharing my latest card...
It's starting to feel more like Spring Here in Arizona, (well except for the bit of rain we're getting today!) and we're getting our garden beds ready to plant, I thought the Daffodil Mice were a cute fit!
I diecut the image using the square die and part of the flourished frame from the Majestic Frame die set, and added Basic Stitched Flags for the background and the sentiment as well!
Copics
mice: E00, E31, E33, E35, E37, R20
daffodils: Y02, Y11, Y13, Y15, Y17, Y21
watering can: C1, C3, C5
grass: YG03, YG25, G24
Have a fabulous day!
Wednesday, February 15, 2017
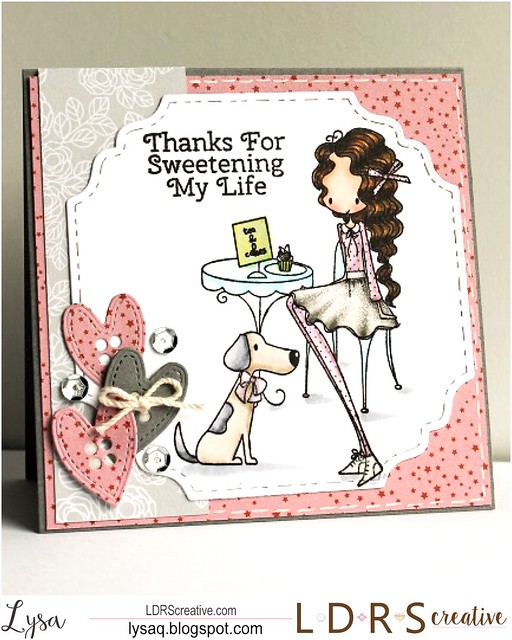
Sweet Life
I'm on the LDRS Creative blog today sharing my latest card featuring the All Dressed Up stamp line, Love the Weekend...
After coloring my image I die cut it using the Fancy Squares & Little Things die set, I squared off the bottom, making it a 4 1/4" card. I used some coordinating patterned papers and also die cut the "buttons" from the same die set. The sentiment is from Friendly Greetings. I finished it off with some sparkle of sequins and Spectrum Noir sparkle on her skirt.
Thanks to a comment on Facebook, I'm also joining in on the All Dressed Up- Anything Goes Challenge!
Copics
skin: E000, E00, E21, R20
hair: E44, E47, E49, YR23
clothes: RV91, RV93, RV95, W1, W3, W5
dog: C1, C3, E40, E41, E43
table: BG0000, YG21, YG25
Thanks for stopping by!!
Tuesday, February 14, 2017
Happy Valentine's Day!
Hello! Happy ❤️ Day!!
Quick post today to share this card I made for my kiddos to give their Dada for Valentine's Day!
I thought this ADORABLE image from C.C. designs was a perfect match for my son & daughter! Paired it with a sentiment from Mama Elephant's Origami stamp set since my kids looove to be silly and say love it all different ways!
I created my card, using the CASe This Sketch for challenge 208!
That's all for today- hope you have wonderful Valentine's Day!
Tuesday, February 7, 2017
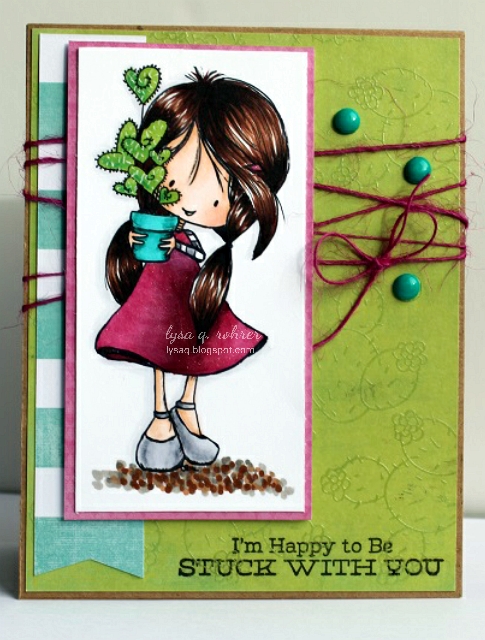
Stuck with YOU!
TIDDLY INKS is back after a holiday break to kick off the new year with a *NEW* challenge...
LOVE!
If you didn't already know I'm a little obsessed with cacti & succulents... so I thought it would be cute to transform Wryn's heart plant into a succulent with some teeny spikes! Using coordinating patterned papers, I stamped a cactus (from My Favorite Things) in Versamark ink & heat embossed using clear powder, the sentiment is also from the same MFT set. I tied on some twine before adding my colored image.
Copics:
skin: E000, E00, E21, R01
hair: E25, E27, E29, W9
dress: RV66, RV69, C3
shoes: C1, C3, C5
plant: YG25, G14, G17
ground: E31, E35, W3, W5
Thanks for stopping by, hope to see you join us for this new challenge! AND we've made some changes for the challenge- instead of a new challenge every 2 weeks, challenges will now run a month long! Which means MORE time to play along!!
Sunday, February 5, 2017
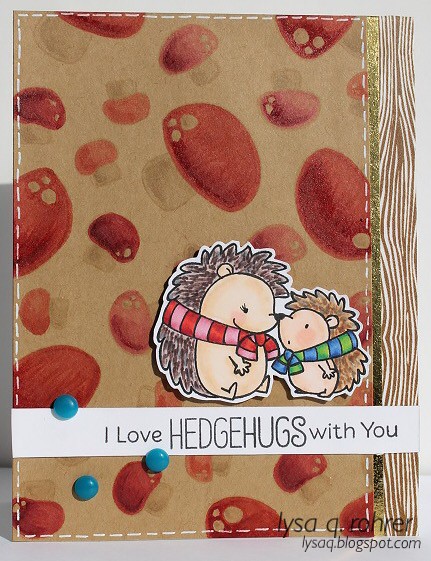
Hedgehugs With You
Hello!
I've finally had the itch to get crafty again, I mean there is so much cute stuff calling my name on my desk!
I'm also joining the latest MFT card sketch challenge #318
I decided that these cute hedgies were shouting at me the loudest...
Using the mushrooms from the hedgehog set as well as from You Gnome Me, I stamped them randomly in Versamark ink and colored them with copics for a soft background. I masked the 2 hedgies nose to nose and fussy cut them out. I created my sentiment using words from Fall Friends, it originally says 'I Love Hanging Out with you', I just switched the 'hanging out' with the word 'Hedgehugs!' I finished putting my card together with washi tape on the edge and some faux white stitching.
Copics
Mushrooms: R14, R17, R24, R27, R29, R35, R37, R43, R46, R59
Hedgies: E000, E00, E21, E50, E51, E53, E70, E74, E77, E70, R01, R20
Scarves: R17, R37, R46, R81, R83, R85, B23, B24, B26, G14, G17, YG25
Thanks for stopping by!
Sunday, January 29, 2017
Year of the Rooster!
Happy Chinese New Year! 2017 is the Year of the Rooster- my year!
It wouldn't be new years without some handmade lucky envelopes for my kids, niece's & nephew!
I pulled out my favorite animal set to make these, Lunar Animals & Lunar Extras from Mama Elephant!
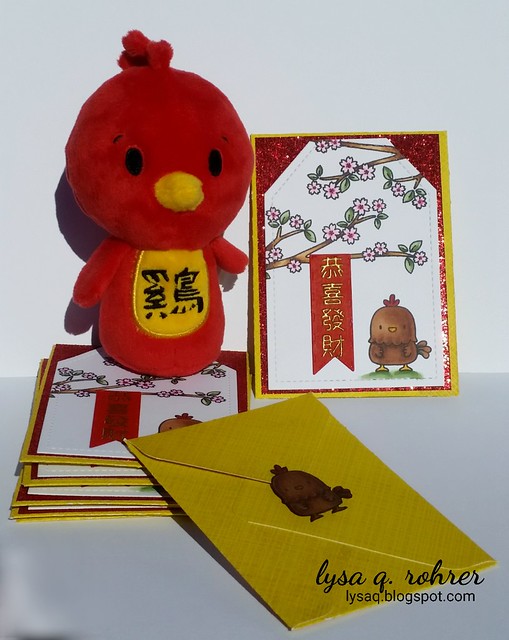
I originally intended for them to be much simplier, but it just wouldn't come together for me- so I created this sweet scene!
I used a Pretty Pink Posh Stitched Tag die and stamped the flower branch & rooster, colored with copics. I made the mini envelope using my envelope punch board and layered red glitter paper under the tag. It was still missing *something*... I die cut the flag (basic stitched flag) and stamped & gold embossed the, "Gong Hay Fat Choy" sentiment too look like a traditional New Years banner hanging from the tree branch! I finished them off with another rooster on the back mounted with foam tape so the flap of the envelope tucks under it.
Copics:
Rooster: E23, E25, E27, B37, Y35, R37, R46
branches: E53, E55, E57, RV00, RV02, RV06, YG61, YG63, YG67
Wishing you all a Prosperous & Happy New Year!
Sunday, January 22, 2017
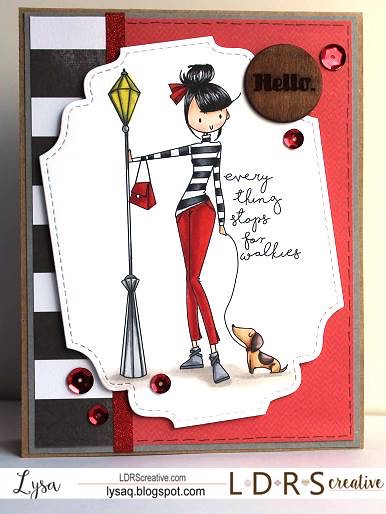
Everything Stops for Walkies!
Hello!
I would have posted this sooner, but having some computer issues at the moment and attempting to blog from my phone...
This weekend kicked off the CHA2017 trade show, here in my hometown of Phoenix, AZ- I so wish I was there! Anyway, I'm popping in today to share one of the cards I made with one of the new releases from LDRS Creative... Everything Stops for Walkies!
It is absolutely the cutest and I had so much fun making this card.
Sorry to cut out the details, hope to update as soon my computer is back up and running!
Thanks for stopping by!!
Sunday, January 15, 2017
Sweet Day
Happy New Year!
I'm finally jumping back onto the card making train, and kicking off the new year (2 weeks later...) with a new card over on the LDRS Creative blog today!
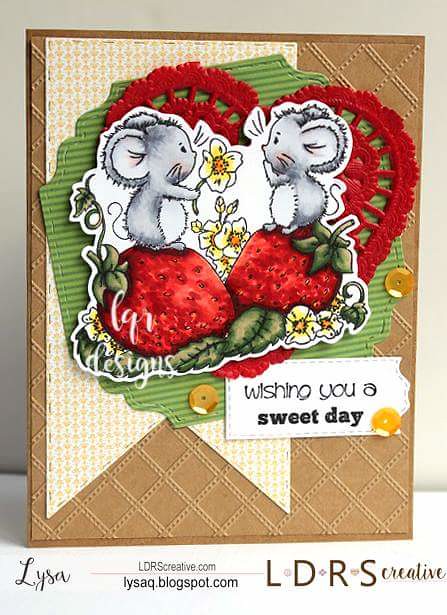
Now that Valentine's Day is just around the corner, I thought this adorable Strawberry Fields stamp would be a sweet start!
After coloring with copics, I fussy cut the image. Layered it on top of Fancy Squares & Little Things and Basic Stitched Flag dies, added a red heart doily, and adhered it all on a kraft cardstock piece trimmed slightly smaller than my cardbase and embossed with the Picnic Quilt embossing folder. Finished it off by stamping part of one sentiment from the Friendly Greetings set.
Copics:
mice: C1, C3, C5, R20
strawberries: R32, R35, R46, R89, Y02, Y06, YG03, YG17, YG67, YR04
Thanks for stopping by!
Subscribe to:
Posts (Atom)